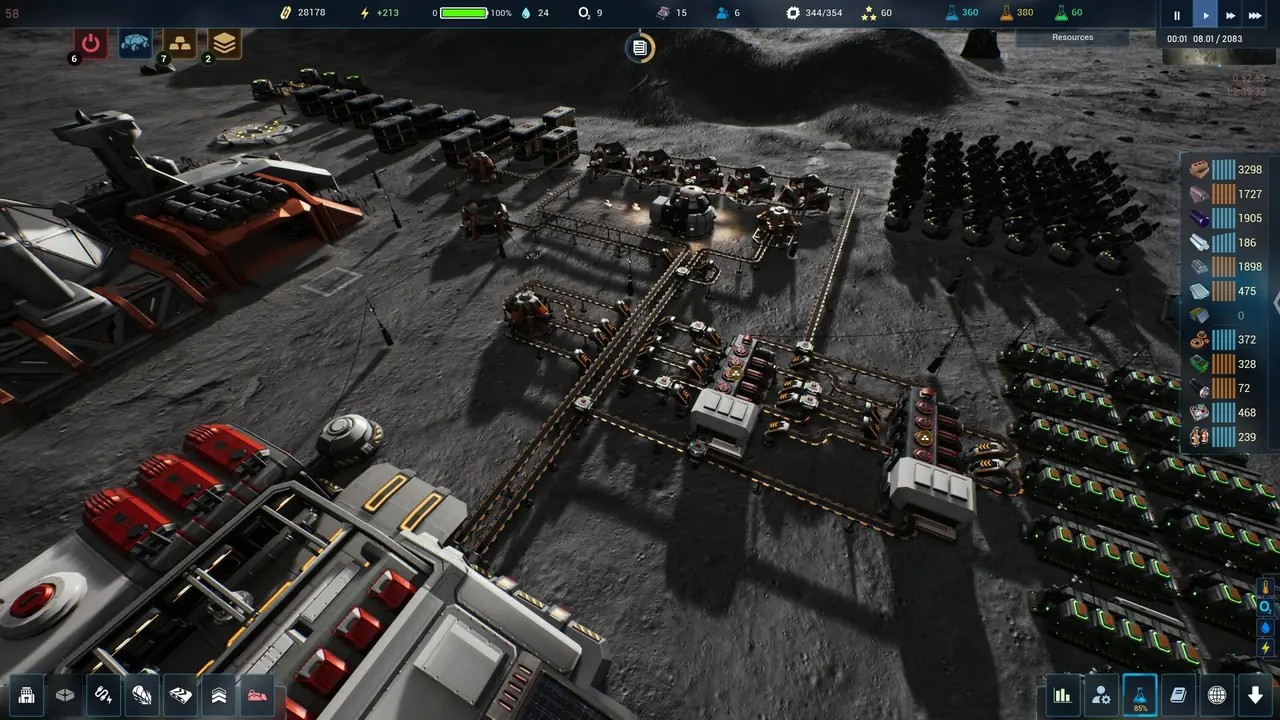
A conveyor in The Crust almost never "breaks". It backs up, it runs the wrong way, or it has no valid destination — and since 1.0 the game has become unusually good at telling you which of those it is. The two features worth learning first are the direction display, toggled with the V key, and the stuck-resource indicator at distributors and module inputs. Between them they turn conveyor debugging from a hunt into a read. The rest of this page is the list of real causes, the storage buildings by name, and the one thing that surprises almost everyone: a rigged belt has no speed of its own once it goes underground.
- Direction
- VisibleToggle with V
- Blockage signal
- Built inDistributors and inputs
- Clear in place
- M keyEmpty a full belt
- Crossings
- Auto distributorNot a special piece
- Overflow
- Bypass buttonSkips storage
- Planning
- Ghost layerCancelling is free
What 1.0 actually changed about conveyors
The 1.0 announcement’s conveyor section is long, and reading it as a list is instructive because it contains almost no new belts. Nearly everything is about making a network you already built explain itself:
| Change | Official wording |
|---|---|
| Direction is visible | “In conveyor laying and planning mode, you can now see the conveyor’s direction, which can be changed with the V key.” |
| Resource types are switchable | “you can easily choose where resources come from and where they go, according to your preferences” |
| Plans are safe to abandon | “Canceling a planned conveyor no longer destroys what has already been built, plus other improvements.” |
| Blockages are visible | “Added an indicator for resources getting stuck at Distributors and module inputs.” |
| Routing is smarter | “Improved pathfinding algorithm when laying conveyors” |
| Distributor priority got a shortcut | “Improved Distributor UX/UI. You can now lower priority with RMB.” |
| Underground gets a layer picker | “A level selector has been added to the underground conveyor construction interface.” |
| Warehouse interaction got better | “Improved interaction with the Multi-Resource Warehouse; added resource selection via CTRL.” |
Two entries in that table deserve to be pulled out, because they change how you work rather than what you build.
The first is resource-type switching. The developers explain the motivation themselves: “Many players asked us to add the ability to switch resource types so you do not have to rebuild a module or its conveyors when changing a recipe. We did it.” This is a large quality-of-life change in a game whose production chains are long, because it decouples what you built from what it currently produces. A production block whose recipes change with the tech tree no longer has to be physically rebuilt when the recipe changes.
The second is that cancelling a plan is free. Combined with Planning Mode — where you lay ghosts rather than real belts — this means the correct time to make conveyor mistakes is before you pay for them.
The community wiki's conveyor page describes the construction model in more detail than the official notes do: building in conveyor mode places a "ghost" rather than a real belt and spends nothing, and holding Alt while clicking a highlighted segment builds only that segment. Holding Shift with the upgrade or dismantle tool active highlights everything directly connected, for bulk operations.
If a chain in your base looks complete but nothing flows, this is the first thing to check — a ghost segment and a built segment are visually similar at a glance and behave completely differently.
Version caveat: that page carries a Version 0.94.38 tag, which is well before 1.0. The construction model it describes is consistent with official material, but the keybinds and the specifics may have moved. We quote it as community-tier observation, not as current documentation.
Source: thecrust.wiki.gg community wiki, Conveyor belts page, tagged to version 0.94.38. Community tier.
Why a conveyor is “not working”: the real causes, in order
When a line stops delivering, the causes in The Crust are finite and mostly diagnosable from the screen. In rough order of how often they are the answer:
1. The destination is full. This is the most common cause and the least dramatic. Several official fixes address resources backing up at module inputs, and the game now shows an indicator for exactly this state. A saturated belt is doing its job — it is waiting. The fix is downstream: consume the output, add storage, or add a bypass.
2. The belt runs the wrong way. Check this with the V key before anything else. Direction only became visible in 1.0, which means anyone carrying habits from earlier builds still underestimates how often this is the answer.
3. There is a ghost segment in the chain. See the community panel above. Planning Mode makes this more likely, not less, because it deliberately lets you draw things that do not exist yet.
4. The belt and the destination disagree about the resource. Resource filters exist in several places — officials notes mention “Resource filters in Cargo Docks” and “Contract filters”, and record removing gases from distributor filters. A filter is silent when it excludes something; the item simply never appears.
5. The module itself is stopped. A module without power, without staff, or without input ingredients will not draw from its belt. In this situation the conveyor is a symptom, and the power warning or staffing panel is the diagnosis.
6. Adjacency geometry. Hotfix 1.0.11 fixed conveyors behaving incorrectly when modules were placed directly adjacent to each other. If you are on a current build this should no longer occur — but if you are seeing geometry that makes no sense at a module boundary, confirm your build before redesigning the block.
Diagnose downstream, not upstream. The instinct when a belt stops is to follow it backwards toward the source. In this game the information is usually downstream: the stuck-resource indicator lights at the destination, the destination's own interface shows whether it is running, and the power warning names the module. Walk the line from the far end and you will usually find the answer one or two clicks in.
Crossing conveyors, and what the intersection is
Crossings are the single most-asked conveyor question, and the answer is a small piece of good news: you do not build a crossing. The game handles intersections through the distributor, which the community wiki describes as being placed automatically when conveyors merge or split.
That same page gives the distributor’s default behaviour in a satisfying level of detail. With no filters applied it works in what the wiki calls a soft round-robin: it sends one item to each output in turn, and skips any output that is blocked — blocked meaning by a setting, by having no conveyor attached, or by the attached belt being full. Priority outputs, if set, are checked first, and only if an item cannot go to any priority output does the distributor fall back to its normal logic for everything else.
The wiki also lists the five per-output controls in left-to-right order — Priority output, Reset settings, Manual control, Block output, Resources — and notes two behaviours worth internalising:
- A resource filter is absolute. Items not on an output’s filter “will never be output here.”
- If an item cannot be output to any side, it blocks the distributor entirely. There is no overflow to nowhere.
And one limitation: that page records no input-side settings for the distributor.
Two official notes corroborate the model without describing it — “Fixed an issue where splitters could ignore conveyor priorities” and a fix stating that “priorities are now displayed” on distributors. The mechanic is real and the interface exposes it.
Belt speeds in this game get patched. Distances generally do not. The community wiki's conveyor page states that the underground conveyor belt "does not impose a speed limit of its own, instead using the lower speed of whatever conveyor tiers are connected to its respective input and output side" — and that the limit research lifts is range, not throughput.
That is the model to hold on to: to speed up an underground link, upgrade the belts feeding it rather than the underground segment. The page lists a default underground range in tiles and three range-increasing researches, but we are deliberately not repeating those figures — the page is tagged 0.94.38, and range values are exactly the kind of number that gets rebalanced.
Source: thecrust.wiki.gg community wiki, Conveyor belts page, tagged version 0.94.38. Community tier; mechanism only, no figures adopted.
Storage is four different answers, not one building
“Storage” queries in The Crust are really four separate questions, and the game answers them with distinct buildings whose names you should know before you plan a block:
| Building | The problem it solves |
|---|---|
| Single resource storage | One resource, in quantity, close to where it is consumed |
| Large Storage / Large Bulk Storage | Scale — the bulk variants hold loose materials rather than discrete goods |
| Underground Storage | Storage that lives in the excavated layer, where room must be dug first |
| Multi-Resource Warehouse / Smart Multi-Resource Warehouse | Many resources in one footprint, with the ability to allocate capacity between them |
The multi-resource family is the one that changed most after release. Update 3 introduced Multi-Storage 2.0, in which “you can now select specific resources to store and distribute the total capacity of the multi-resource storage between them in any ratio” — which is the answer to a question older guides get wrong, because it means a multi-storage is no longer an all-or-nothing box. You can commit 70% of it to one material and split the rest.
Update 3 also added the automation layer on top: a research “for Multi-Storage that enables automatic resource supply for contracts and expeditions. Once connected to certain modules, it will automatically open outputs and provide the exact amount of resources required.” That converts a storage building into a fulfilment system for contracts, which is a different role from just holding things.
And in Update 1.0.12 the developers reduced the research cost of both Large Storage and Large Bulk Storage, plus the Cargo Dock and the Programmable Conveyor Distributor — a strong hint that these are the intended mid-game expansion path rather than luxury items.
The Conveyor Elevator, and the surprise about speed
The Conveyor Elevator is the belt-based bridge between surface and underground, and it is where assumptions break. The community wiki is unusually explicit that “Drones do not take from or deliver to the Conveyor Elevator” — so it is a pure belt interface, and you cannot use it as a place for drones to pick up from. The same page confirms “There is no speed modifier for the Conveyor Elevator. It will match the highest speed of any attached conveyor,” which is why upgrading the belts on either side is the way to increase throughput through it.
Officially, the elevator has been a recurring source of small fixes: an output interface displaying incorrectly, the stuck-resource notification being removed from it, and the interface when building it. For placement, the community page offers the pattern most players settle on — put one near a Cargo Dock on the surface so arriving regolith and rare minerals get underground quickly, and stage bulk storage on the underground side so the dock can be emptied without delay.
What this page does not claim. No belt speeds, no throughput numbers, no ratio tables. Every tier of conveyor in this game has been rebalanced across the patch history, and the community wiki's figures for them are tagged to a version that predates 1.0 by a substantial margin. Read the numbers off your own build menu and your own module tooltips; use this page for the structure of the problem, not its arithmetic.